Discover the basics of natural soap making with square molds!
If you’re new to soap making, using reusable square molds is a great way to get started. In this beginner’s guide, we’ll walk you through the process of making natural soap from scratch. You’ll learn about the ingredients, safety tips, and techniques for pouring your soap into square molds. By the end of this post, you’ll have the knowledge and confidence to create your own custom soaps at home!
DIY Natural Soap: A Beginner’s Guide to Square Molds
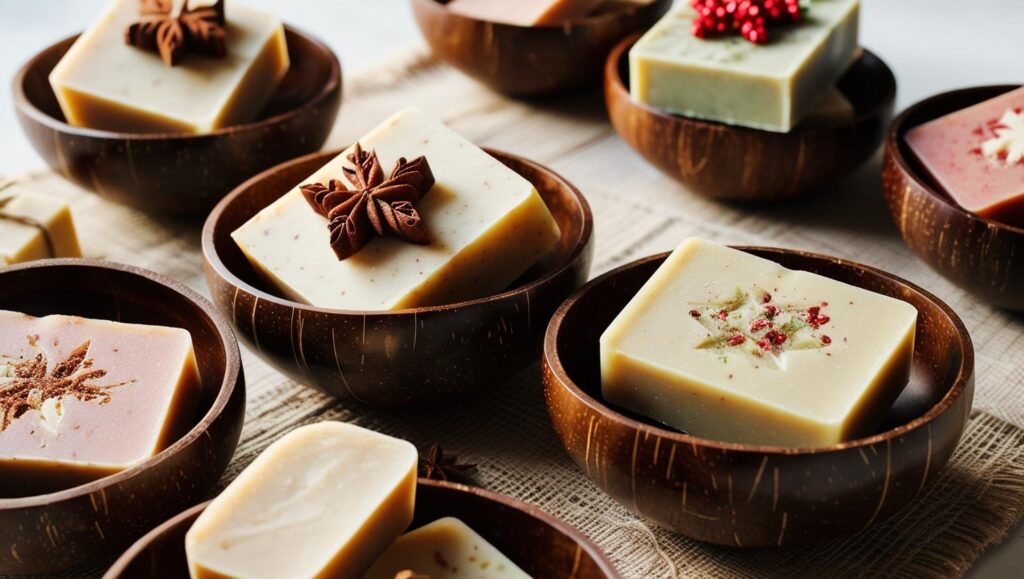
Have you ever dreamed of crafting your own natural soap at home? Maybe you’ve seen those beautifully handcrafted bars on display at farmer’s markets or online, and thought, “I’d love to make something like that!” Well, you’re in luck! Making natural soap is not only fun and creative, but it’s also a great way to control the ingredients that go into your skincare routine. If you’re new to soap-making, square molds are a fantastic place to start. They’re simple, versatile, and give your finished bars a classic, polished look.
In this beginner’s guide, we’ll walk you through the basics of making natural soap using square molds. By the end, you’ll have the confidence to create your own batch of luxurious, handmade soap.
Why Choose Square Molds?
Square molds are a favorite among soap-makers for several reasons. First, their clean, geometric shape makes them ideal for beginners since they’re easy to work with and don’t require any fancy techniques. Second, square bars are practical—they stack neatly and fit comfortably in your hand. Finally, they’re incredibly versatile. Whether you want a rustic, all-natural look or a sleek, modern design, square molds can do it all.
What You’ll Need
Before you get started, it’s important to gather your tools and ingredients. Soap-making does require some specific materials, but don’t worry—you can find most of these items online or at your local craft store.
Tools:
- Square Soap Molds: Silicone molds are highly recommended for easy removal.
- Digital Scale: Precision is key when measuring ingredients.
- Stick Blender: For mixing oils and lye solution.
- Heat-Safe Containers: For melting oils and mixing lye.
- Thermometer: To monitor temperatures.
- Rubber Gloves and Safety Goggles: Soap-making involves lye, which requires careful handling.
- Spatula: For scraping every last bit of soap batter into the mold.
Ingredients:
- Oils and Butters: Common choices include olive oil, coconut oil, shea butter, and palm oil.
- Lye (Sodium Hydroxide): Essential for saponification (the chemical reaction that turns oils into soap).
- Distilled Water: Tap water may contain impurities that can affect your soap.
- Essential Oils: For natural fragrance (e.g., lavender, peppermint, or citrus).
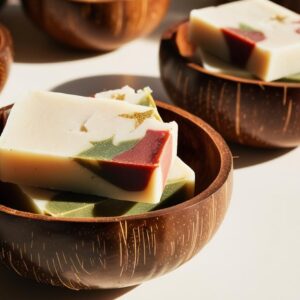
- Colorants (Optional): Such as natural clays or mica powders.
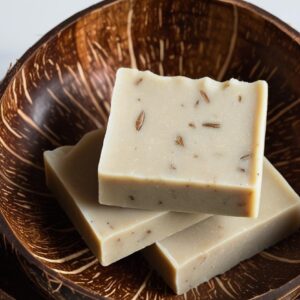
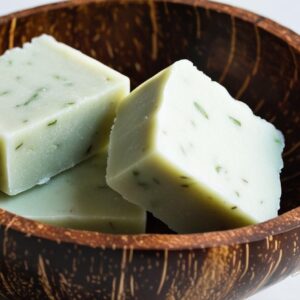
- Add-ins (Optional): Dried herbs, oats, or exfoliants like poppy seeds.
Step-by-Step Guide to Making Natural Soap
1. Prepare Your Workspace
Soap-making can get messy, so make sure your workspace is clean and organized. Lay down some parchment paper or an old towel to protect your counters. Wear gloves and goggles to protect your skin and eyes from lye.
2. Measure Your Ingredients
Using a digital scale, carefully measure out your oils, lye, and water. Accurate measurements are crucial for a successful batch of soap.
3. Mix the Lye Solution
Slowly add lye to distilled water (NEVER the other way around!) in a heat-safe container. Stir gently until the lye dissolves completely. The mixture will heat up quickly, so set it aside to cool to about 100–120°F.
4. Melt and Combine Oils
In another heat-safe container, melt your oils and butters over low heat. Once melted, allow the oils to cool to the same temperature range as the lye solution (100–120°F).
5. Blend Until Trace
Carefully pour the lye solution into the melted oils. Use a stick blender to mix the two together. Blend in short bursts until the mixture reaches “trace,” which means it has thickened to a pudding-like consistency.
6. Customize Your Soap
Now comes the fun part! Add your essential oils, colorants, or other extras like dried herbs or exfoliants. Stir well to ensure everything is evenly distributed.
7. Pour Into Square Molds
Pour the soap batter into your square molds. Tap the molds gently on the counter to release any air bubbles.
8. Let It Cure
Cover the molds with a towel or plastic wrap and let them sit undisturbed for 24–48 hours. Once the soap has hardened, pop it out of the molds and place the bars on a drying rack. Allow them to cure for 4–6 weeks to ensure they’re fully hardened and mild enough for use.
Tips for Success
- Start Small: If you’re new to soap-making, begin with a small batch to practice your technique.
- Be Patient: Curing time is essential for high-quality soap. Resist the urge to use your bars too soon!
- Experiment: Don’t be afraid to try different oils, fragrances, and add-ins once you’ve mastered the basics.
- Stay Safe: Always handle lye with care and keep it out of reach of children and pets.
Why Make Your Own Soap?
There’s something incredibly satisfying about crafting your own soap from scratch. Not only can you customize it to suit your preferences—choosing scents, colors, and textures—but you’ll also know exactly what’s going onto your skin. Many store-bought soaps contain harsh chemicals and synthetic fragrances that can irritate sensitive skin. By making your own natural soap, you can create a product that’s gentle, nourishing, and eco-friendly.
Final Thoughts
Making natural soap with square molds is a rewarding DIY project that anyone can try. Whether you’re looking for a creative hobby, a thoughtful gift idea, or a way to reduce chemicals in your skincare routine, homemade soap is an excellent choice. With just a few tools and ingredients—and a little patience—you’ll be well on your way to creating beautiful bars of soap that are as functional as they are fabulous.
So why not give it a go? Roll up your sleeves, grab those square molds, and let your inner soap artist shine!


