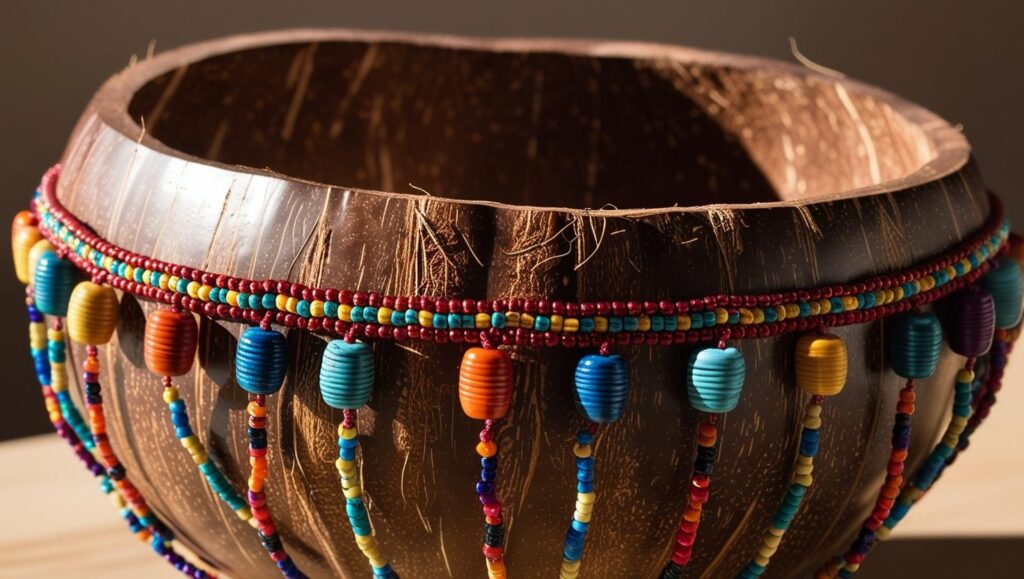
Coconut bowls are not just functional and eco-friendly; they’re also a canvas for creativity. If you’ve ever found yourself drawn to the natural beauty of these bowls, why not take them up a notch by adding your own artistic flair? One delightful way to enhance their charm is through beaded embellishments. Whether you’re a seasoned crafter or a complete beginner, this project is fun, sustainable, and allows you to create something truly unique.
Coconut Bowl Crafts: Beaded Embellishments
In this article, we’ll explore how to turn a simple coconut bowl into a stunning piece of art using beads. From gathering materials to design ideas, we’ve got you covered.
Why Coconut Bowls?
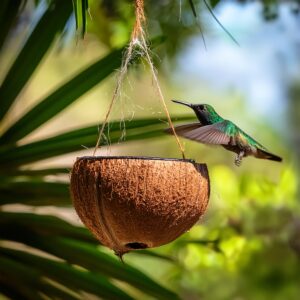
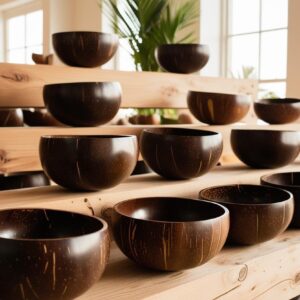
Before we dive into the crafting process, let’s talk about why coconut bowls make such a fantastic base for your creativity. These bowls are made from discarded coconut shells, giving them a second life and reducing waste. They’re sturdy, lightweight, and have a natural rustic beauty that pairs perfectly with handmade embellishments.
By decorating coconut bowls with beads, you’re not only creating something beautiful but also contributing to sustainable living practices. It’s a win-win!
Materials You’ll Need
To get started on your beaded coconut bowl project, gather the following materials:
- Coconut bowl: You can purchase one online or at eco-friendly stores. Alternatively, if you’re feeling adventurous, you can make your own by sanding and polishing a coconut shell.
- Beads: Choose beads that match your style. Wooden beads for a natural look, glass beads for sparkle, or colorful plastic beads for a playful vibe.
- Strong adhesive or glue gun: Make sure your glue is suitable for adhering to both the coconut shell and the beads.
- String or wire (optional): If you want to create dangling bead designs, you’ll need some string or thin wire.
- Tweezers: These can be helpful for placing small beads with precision.
- Sealant (optional): If you plan to use the bowl for food or liquids, make sure to use a food-safe sealant after decorating.
Getting Started: Basic Techniques
- Clean and Prepare the Bowl:
Before you begin, make sure your coconut bowl is clean and dry. Wipe it down with a damp cloth to remove any dust or residue. If the surface feels rough, lightly sand it for a smoother base. - Plan Your Design:
Think about the look you want to achieve. Do you want to create a geometric pattern? A floral motif? Or perhaps a random scattering of beads? Sketching your design on paper first can help you visualize the final product. - Apply Beads:
Use your adhesive or glue gun to attach the beads to the bowl. Start with small sections and work your way around, pressing each bead firmly into place. If you’re using tweezers, they can help you position tiny beads more accurately. - Layering (Optional):
For a more intricate design, consider layering beads on top of each other or combining different bead sizes and shapes. This adds depth and texture to your design. - Let It Dry:
Allow your bowl to dry completely before handling it further. This ensures that the beads stay securely in place.
Design Ideas to Inspire You
If you’re unsure where to start, here are some fun and creative design ideas for your beaded coconut bowl:
- Bohemian Chic: Use earthy tones like brown, beige, and olive green beads to create a boho-inspired pattern around the rim of the bowl.
- Ocean Vibes: Incorporate blue and turquoise beads with shell-shaped accents for a beachy aesthetic.
- Mandala Patterns: Arrange beads in intricate circular mandala designs for a striking centerpiece look.
- Minimalist Elegance: Stick to one color or type of bead and create a simple border along the edge of the bowl.
- Playful Pop: Mix and match bright, colorful beads for a fun and whimsical design that stands out.
Tips for Success
- Test Your Glue: Before committing to your design, test your adhesive on a small area of the bowl to ensure it sticks well without damaging the surface.
- Work in Sections: To avoid smudging or misplacing beads, work on small sections at a time and let each section dry before moving on.
- Mix Materials: Don’t be afraid to incorporate other materials like sequins, fabric scraps, or small shells into your design for added texture and variety.
- Practice Patience: Crafting takes time, so don’t rush the process. Enjoy each step as part of the creative journey!
Practical Uses for Your Beaded Coconut Bowl
Once your masterpiece is complete, there are so many ways to use your beaded coconut bowl! Here are just a few ideas:
- Home Décor: Display it as a decorative piece on your coffee table or shelf.
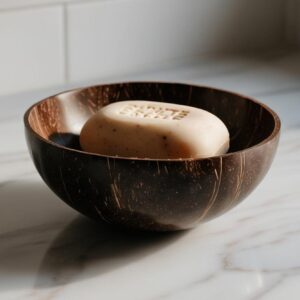
- Jewelry Holder: Keep your earrings, bracelets, or rings organized in style.
- Key Bowl: Place it near your door as a chic spot to drop your keys and small essentials.
- Gift Idea: A handcrafted beaded bowl makes for a thoughtful and personalized gift.
- Special Occasions: Use it as part of table settings for weddings, parties, or other celebrations.
Final Thoughts
Crafting beaded coconut bowls is not only an enjoyable activity but also an opportunity to express your creativity while promoting sustainability. Each bowl you create will be one-of-a-kind, reflecting your personal style and effort. Plus, it’s an excellent way to repurpose natural materials into something beautiful and functional.
So gather your materials, put on some relaxing music, and let your imagination run wild! Whether you keep your creation for yourself or gift it to someone special, one thing is certain: your beaded coconut bowl will be a true labor of love.
Happy crafting! ✨
Coconut Bowl Crafts: Beaded Embellishments
Material Needed:
Beads, strong adhesive, tweezers
Instructions:
1. Plan your bead design by laying out the beads on a flat surface. 2. Apply a small amount of adhesive to the area of the bowl where you want to add beads. 3. Use tweezers to carefully place each bead onto the adhesive. 4. Allow the glue to dry completely to ensure beads are securely attached.


