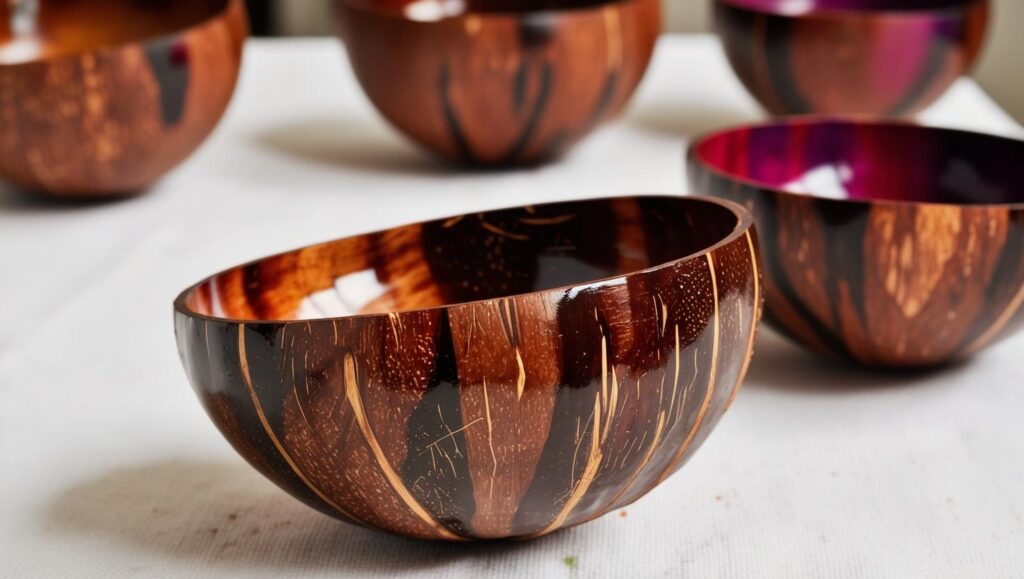
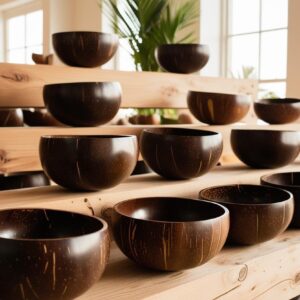
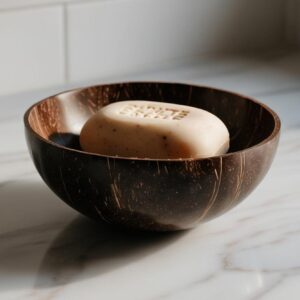
Coconut bowls have become increasingly popular in recent years, not only for their eco-friendly appeal but also for their natural beauty and versatility. These handcrafted gems are made from discarded coconut shells, giving them a second life as sustainable, stylish tableware. But did you know that you can take your coconut bowl crafting to the next level with natural dye staining? By using plant-based dyes, you can add vibrant colors and unique patterns to your bowls while keeping the process environmentally friendly.
Coconut Bowl Crafts: Natural Dye Staining
In this article, we’ll explore the art of natural dye staining for coconut bowls, offering tips, techniques, and inspiration to help you create your own one-of-a-kind pieces. Whether you’re a seasoned DIY enthusiast or a curious beginner, this guide will walk you through everything you need to know.
Why Use Natural Dyes?
Natural dyes are derived from plants, fruits, vegetables, and other organic materials. They are a safer, more sustainable alternative to synthetic dyes, which often contain harmful chemicals. By using natural dyes, you not only reduce your environmental impact but also create a more authentic and earthy look for your coconut bowls.
Additionally, natural dyes are easy to make at home using ingredients you may already have in your kitchen or garden. From rich reds made with beetroot to sunny yellows from turmeric, the possibilities are endless!
Preparing Your Coconut Bowl
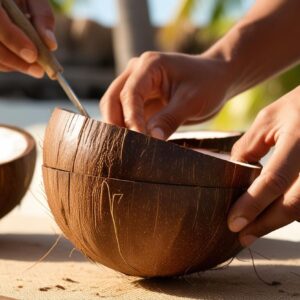
Before you start staining your coconut bowl, it’s important to prepare it properly. Most coconut bowls are already sanded and polished when purchased, but if you’re working with a raw shell, follow these steps:
- Clean the Shell: Remove any remaining coconut fibers and wash the shell thoroughly with warm water and mild soap. Let it dry completely.
- Sand the Surface: Use fine-grit sandpaper to smooth out the surface of the bowl. This will help the dye absorb evenly.
- Apply a Base Coat (Optional): For a more vibrant result, consider applying a base coat of white vinegar or lemon juice to the bowl before staining. This can help enhance the color of the natural dye.
Making Natural Dyes
Creating natural dyes is a fun and creative process that allows you to experiment with different colors and materials. Here are some common ingredients you can use to make your own dyes:
- Beetroot: Produces shades of pink and red
- Turmeric: Creates bright yellow tones
- Spinach or Kale: Yields green hues
- Blueberries: Gives shades of blue and purple
- Onion Skins: Results in earthy orange tones
- Coffee or Tea: Produces warm brown shades
To make the dye, simply chop your chosen ingredient into small pieces, place them in a pot with water, and simmer for 30–60 minutes. Strain the liquid to remove any solids, and your dye is ready to use!
Staining Your Coconut Bowl
Once your dye is prepared, it’s time to stain your coconut bowl. Follow these simple steps:
- Test the Dye: Before applying the dye to your bowl, test it on a small piece of wood or scrap material to see how the color turns out. Adjust the concentration if needed by adding more water or dye material.
- Apply the Dye: Use a soft brush or cloth to apply the dye evenly across the surface of the bowl. For a more rustic look, you can also use a sponge or even your fingers!
- Layer for Intensity: If you want a deeper color, let each coat dry before applying another layer of dye. This will help build up the intensity gradually.
- Dry Completely: Allow the bowl to dry completely in a well-ventilated area before moving on to the next step. This may take several hours or overnight, depending on the humidity in your space.
Sealing and Finishing
To protect your beautifully stained coconut bowl and make it food-safe, you’ll need to seal it with a natural finish. Beeswax or food-grade coconut oil are excellent options for this step:
- Apply the Sealant: Rub a small amount of beeswax or coconut oil onto the surface of the bowl using a soft cloth. Make sure to cover all areas evenly.
- Buff for Shine: Use a clean cloth to buff the bowl until it has a smooth, glossy finish.
- Reapply as Needed: Over time, the sealant may wear off with use and washing. Reapply as needed to maintain the bowl’s appearance and durability.
Creative Ideas for Coconut Bowl Designs
Now that you know the basics of natural dye staining, why not get creative with your designs? Here are some fun ideas to try:
- Ombre Effect: Blend two or more colors together for a gradient effect that transitions smoothly from one shade to another.
- Patterns and Stencils: Use stencils or masking tape to create geometric patterns or designs on your bowl before applying the dye.
- Layered Colors: Experiment with layering different colors of dye to create unique textures and depth.
- Nature-Inspired Themes: Incorporate leaf prints or floral motifs by pressing leaves or flowers onto the bowl before staining.
Caring for Your Coconut Bowl
To ensure your dyed coconut bowl lasts for years to come, take good care of it by following these tips:
- Avoid soaking the bowl in water for long periods; instead, wash it gently with mild soap and water.
- Keep it away from extreme heat or direct sunlight, as this may cause fading or cracking over time.
- Reapply oil or wax periodically to maintain its protective finish and vibrant appearance.
A Sustainable Craft with Endless Possibilities
Natural dye staining is a wonderful way to personalize your coconut bowls while staying true to eco-friendly principles. With just a few simple ingredients and tools, you can transform plain coconut shells into stunning works of art that reflect your creativity and love for nature.
So gather your materials, roll up your sleeves, and let your imagination run wild! Whether you’re making these bowls for yourself or as thoughtful handmade gifts for friends and family, each one will carry its own unique story and charm.
Happy crafting!
Coconut Bowl Crafts: Natural Dye Staining
Material Needed:
Natural dyes (e.g., beet juice, turmeric), brush, sealant
Instructions:
1. Prepare your natural dye by boiling your chosen material with water. 2. Brush the dye onto the coconut bowl, covering the entire surface or creating patterns. 3. Let the dye sit for a few hours to achieve the desired color intensity. 4. Rinse the bowl and allow it to dry completely. 5. Apply a sealant to preserve the dye and make it food-safe.


