Coconut Bowl Crafts: Painted Patterns and Designs
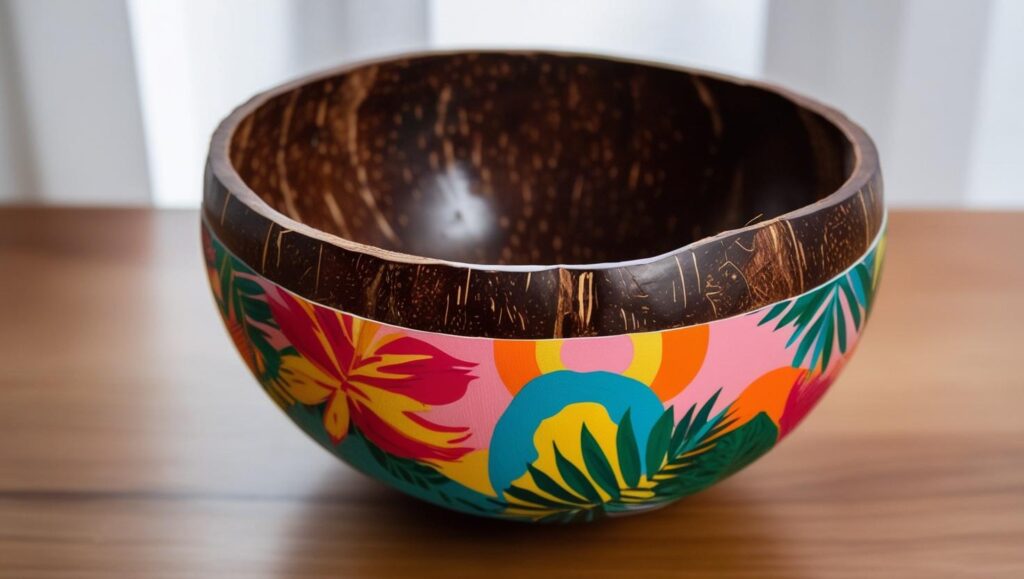
Coconut bowls are not just eco-friendly alternatives to traditional dishware; they’re also a blank canvas for creativity. With their natural textures and earthy charm, these bowls can be transformed into stunning pieces of art through painted patterns and designs. Whether you’re a seasoned DIY enthusiast or just dipping your toes into the world of crafting, decorating coconut bowls is a fun and rewarding activity that can add a personal touch to your home or make for thoughtful, handcrafted gifts.
Why Coconut Bowls?
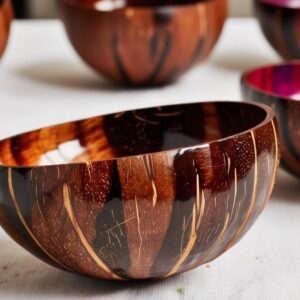
Coconut bowls are made from discarded coconut shells, making them a sustainable choice for those looking to reduce waste. Their smooth interiors and unique shapes make them perfect for holding everything from snacks to jewelry. But their real magic lies in their versatility—each bowl is a one-of-a-kind piece waiting to be personalized.
By painting your coconut bowl, you can elevate its natural beauty while adding a splash of color and personality. Plus, it’s a fantastic way to upcycle and give new life to something that might otherwise go unused.
Getting Started: Materials You’ll Need
Before diving into your coconut bowl painting project, gather the following materials:
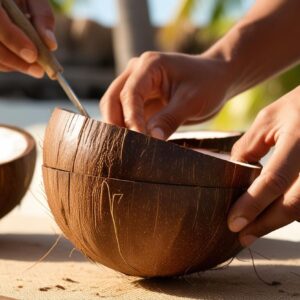
- Coconut Bowls: Make sure they are clean, dry, and sanded smooth. You can purchase pre-made coconut bowls or make your own if you’re feeling adventurous.
- Acrylic Paints: These are ideal because they adhere well to coconut shells and come in a wide variety of colors.
- Paintbrushes: Use fine-tipped brushes for detailed designs and broader brushes for larger areas.
- Painter’s Tape: This is helpful for creating clean lines or geometric patterns.
- Sealer or Varnish: A food-safe, non-toxic sealer is essential if you plan to use the bowl for serving food.
- Pencil or Chalk: For sketching your design before painting.
- Palette and Water Cup: To mix colors and clean brushes as you go.
Inspiration for Painted Patterns and Designs
If you’re unsure where to start, here are some creative ideas to spark your imagination:
1. Nature-Inspired Patterns
Embrace the natural beauty of the coconut by painting floral motifs, leaves, or vines on the bowl’s exterior. You could also try painting ocean waves, mountains, or sunsets for a tranquil, nature-inspired look.
2. Mandala Art
Mandala designs are intricate and mesmerizing, making them a popular choice for coconut bowl art. Start with a central point on the bowl and work outward in circular patterns, using dots, lines, and shapes to create symmetry.
3. Geometric Designs
Triangles, squares, and hexagons can give your bowl a modern and minimalist vibe. Combine bold colors with clean lines for an eye-catching result.
4. Bohemian Style
Think dreamcatchers, feathers, or tribal patterns. Use earthy tones like terracotta, teal, and mustard yellow to complement the natural coconut shell.
5. Abstract Art
Unleash your inner artist by painting freeform shapes and splashes of color. Abstract designs are great if you prefer a more spontaneous and expressive approach.
6. Personalized Touches
Add initials, names, or meaningful quotes to make the bowl uniquely yours—or tailor it as a heartfelt gift for someone special.
Step-by-Step Guide to Painting Your Coconut Bowl
- Prepare the Surface: Start by lightly sanding the bowl’s surface to ensure the paint adheres well. Wipe away any dust with a damp cloth and let it dry completely.
- Sketch Your Design: Use a pencil or chalk to outline your design on the bowl. This step is optional but helpful if you want to ensure precision.
- Paint Your Base Layer: If your design involves a background color, apply it first using broad strokes. Allow it to dry before moving on to detailed work.
- Add Details: Use fine-tipped brushes to paint patterns or intricate designs. Work slowly and carefully—this is where your creativity shines!
- Let It Dry: Allow the paint to dry completely before applying additional layers or details.
- Seal the Design: Once your artwork is finished and dried, apply a food-safe sealer or varnish to protect the paint and give the bowl a polished finish.
- Enjoy Your Creation: Your painted coconut bowl is now ready to use or display! If you’ve sealed it properly, it can even hold dry foods like nuts or fruit.
Tips for Success
- Practice First: If you’re new to painting, practice your design on paper or a spare surface before transferring it onto the bowl.
- Mix Colors Sparingly: Coconut bowls are small canvases, so stick to a cohesive color palette to avoid overwhelming the design.
- Be Patient: Allow each layer of paint to dry fully before moving on to avoid smudging.
- Experiment: Don’t be afraid to try new techniques like sponging or stenciling for unique effects.
Caring for Your Painted Coconut Bowl
To keep your creation looking its best, wash it gently with a damp cloth or sponge—avoid soaking it in water or using harsh detergents. If the paint starts to fade over time, you can touch it up with additional paint and reapply the sealer.
Final Thoughts
Painting coconut bowls is not only an enjoyable craft but also a wonderful way to express your individuality while embracing sustainability. The possibilities for patterns and designs are endless—you can go bold with vibrant colors or keep it subtle with minimalist details. Whatever you choose, each painted bowl will be a reflection of your personal style and creativity.
So grab your paints and brushes, and let your imagination run wild! Whether you’re decorating bowls for yourself or creating handmade gifts for loved ones, this craft is sure to leave you feeling inspired—and with a collection of beautiful bowls to show for it. Happy painting!
Coconut Bowl Crafts: Painted Patterns and Designs
Material Needed:
Acrylic paints, paintbrushes, sealant spray
Instructions:
1. Clean the coconut bowl thoroughly and let it dry. 2. Choose a color palette and design (e.g., geometric shapes, floral patterns). 3. Use a pencil to lightly sketch your design on the bowl. 4. Paint over the sketch with acrylic paints, allowing each layer to dry before adding the next. 5. Once finished, apply a sealant spray to protect the paint.


