Coconut bowls have become a popular trend in sustainable living and eco-friendly crafts. These charming bowls, made from reclaimed coconut shells, are not only practical but also a wonderful canvas for creative expression. One exciting way to personalize and elevate your coconut bowls is through the art of wood burning, also known as pyrography. If you’re looking for a fun and rewarding project, let’s dive into the world of coconut bowl crafts and explore how to create stunning wood-burned designs.
Coconut Bowl Crafts: Wood Burning Designs
Why Choose Coconut Bowls?
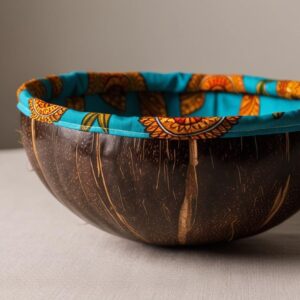
Coconut bowls are an excellent choice for anyone seeking to live more sustainably. By repurposing discarded coconut shells, these bowls help reduce waste while offering a natural, biodegradable alternative to plastic or ceramic dishware. They’re lightweight, durable, and versatile, making them perfect for serving food, holding trinkets, or even as decorative pieces.
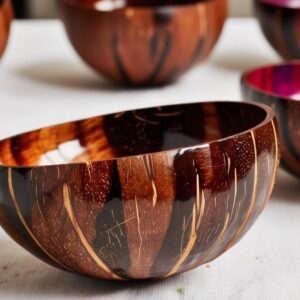
But what truly sets coconut bowls apart is their unique texture and natural beauty. Each bowl has its own distinct shape and grain pattern, making every piece one of a kind. Adding wood-burned designs only enhances their charm and gives you the opportunity to make them uniquely yours.
What Is Wood Burning?
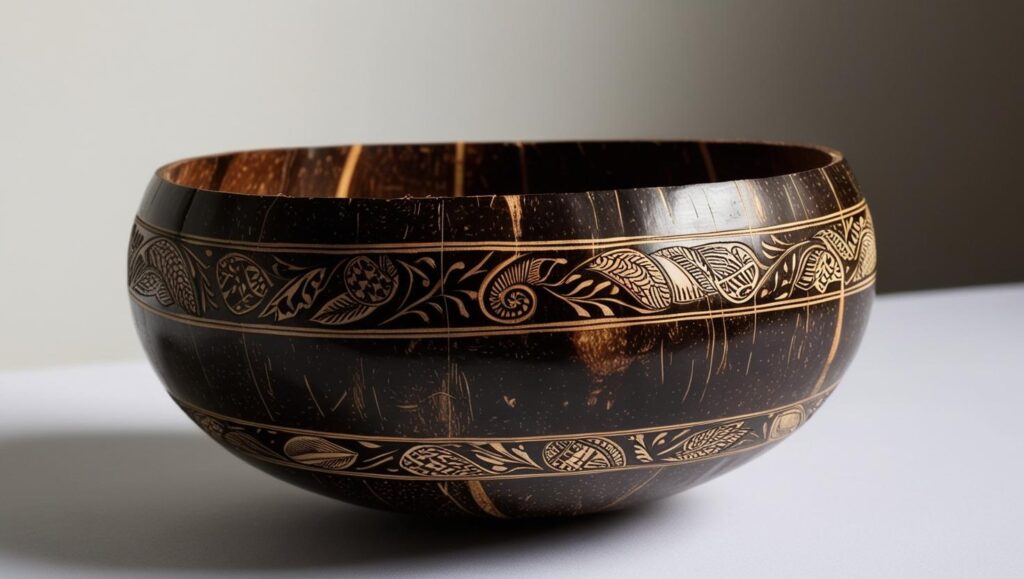
Wood burning, or pyrography, is the art of using a heated tool to burn designs into wood or other materials like leather and cork. When applied to coconut shells, this technique creates intricate patterns and textures that give the bowls a rustic yet elegant look.
The process involves using a pyrography pen with interchangeable tips to draw or etch your design onto the surface. The heat from the tool burns the material, leaving behind darkened lines or shading. It’s a simple yet highly satisfying way to transform plain coconut bowls into personalized works of art.
Materials You’ll Need
Before you get started, gather the following materials:
- Coconut Bowls: Pre-sanded and polished bowls work best for wood burning. You can purchase ready-made coconut bowls or make your own if you’re feeling adventurous.
- Wood Burning Tool: A basic pyrography pen with adjustable heat settings and interchangeable tips is ideal for beginners.
- Pencil and Eraser: Use these to sketch your design on the bowl before burning.
- Stencils (Optional): If freehand drawing isn’t your strength, stencils can help you create clean and consistent patterns.
- Sandpaper: Fine-grit sandpaper can smooth out any rough edges on the bowl before you start.
- Protective Gear: Work in a well-ventilated area and consider wearing a mask to avoid inhaling fumes from the burning process.
Getting Started
1. Prepare Your Bowl
Start by cleaning your coconut bowl to ensure it’s free of dust or residue. If the surface feels rough, lightly sand it with fine-grit sandpaper to create a smooth base for your design. Once it’s prepped, wipe the bowl clean with a damp cloth and let it dry completely.
2. Plan Your Design
Decide on the design you want to create. Popular themes for coconut bowl wood burning include mandalas, floral motifs, tribal patterns, or even simple geometric shapes. Use a pencil to lightly sketch your design onto the bowl. Don’t worry about mistakes—pencil marks can be erased or adjusted as needed.
3. Practice First
If you’re new to pyrography, practice on a scrap piece of wood or an old coconut shell before working on your bowl. This will help you get comfortable with controlling the heat and pressure of the tool. Experiment with different tips to see which ones work best for your design.
4. Start Burning
Once you feel confident, it’s time to bring your design to life! Plug in your wood-burning tool and allow it to heat up according to the manufacturer’s instructions. Begin tracing over your pencil sketch with the heated tip, working slowly and steadily. Apply even pressure to create clean lines and avoid scorching the surrounding areas.
For shading or adding depth to your design, use a softer touch or switch to a shading tip. Remember to take breaks if needed—the process requires focus and patience, but the results are worth it!
5. Finishing Touches
After completing your design, inspect the bowl for any stray pencil marks or uneven areas. Gently erase any remaining pencil lines and use sandpaper to smooth out any rough spots if necessary. To protect your design and enhance the bowl’s natural luster, apply a food-safe finish such as coconut oil or beeswax polish.
Design Inspiration
Not sure where to begin? Here are some ideas to spark your creativity:
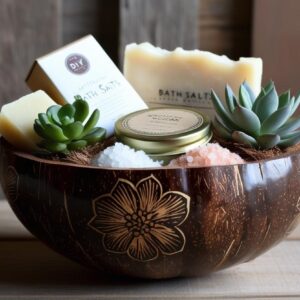
- Nature-Inspired Themes: Leaves, flowers, vines, or waves can complement the organic feel of coconut bowls beautifully.
- Mandalas: These intricate circular patterns are both meditative to create and stunning to look at.
- Quotes or Words: Burn an inspiring quote or meaningful word onto the bowl for a personal touch.
- Tribal Patterns: Bold lines and shapes inspired by traditional art styles can add a striking visual element.
- Custom Crests: Design a family crest or monogram for a truly unique keepsake or gift.
Tips for Success
- Take Your Time: Rushing can lead to uneven lines or mistakes. Work slowly and enjoy the process!
- Mind Your Heat Settings: Different parts of the coconut shell may require different heat levels, so adjust accordingly.
- Experiment with Textures: Varying your pressure and using different tips can create interesting textures in your design.
- Stay Safe: Always work in a well-ventilated space and be cautious when handling hot tools.
The Joy of Handmade Creations
There’s something incredibly satisfying about turning a simple coconut shell into a functional piece of art with your own hands. Whether you’re crafting for yourself or making gifts for loved ones, wood-burning designs on coconut bowls allow you to combine creativity with sustainability in a meaningful way.
So grab your tools, let your imagination run wild, and start crafting! Your next masterpiece is just a burn away.
Material Needed:
Wood burning tool, pencil, sandpaper
Instructions:
1. Lightly sand the surface of the coconut bowl to ensure it’s smooth. 2. Draw your desired design on the bowl with a pencil. 3. Carefully trace the design with a wood burning tool, applying even pressure. 4. Allow the bowl to cool down after burning. 5. Optionally, apply a food-safe finish to protect the design.


