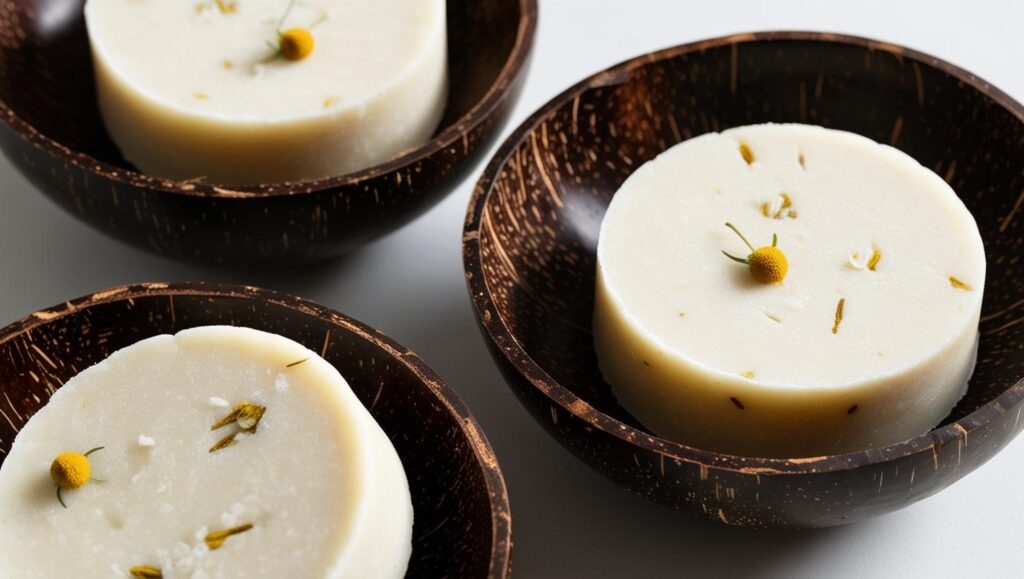
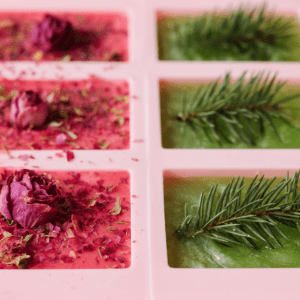
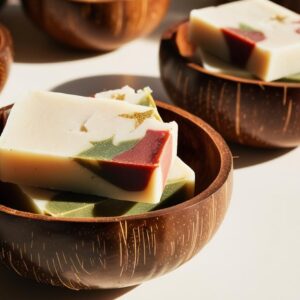
Coconut oil soap is a fantastic natural alternative to commercial soaps that are often packed with harsh chemicals and synthetic ingredients. Making your own coconut oil soap at home is not only fun and rewarding, but it also allows you to control exactly what goes into your soap, ensuring a pure and nourishing product for your skin.
To make coconut oil soap, you will need just a few simple ingredients and some basic equipment. Here’s a step-by-step guide to help you create your own luxurious bars of coconut oil soap.
Ingredients:
– Coconut oil: 500g
– Distilled water: 160g
– Sodium hydroxide (lye): 74g
– Essential oils (optional): for fragrance
Equipment:
– Safety goggles
– Rubber gloves
– Stainless steel or heat-resistant plastic pitcher
– Stainless steel or heat-resistant plastic stirring spoon
– Digital kitchen scale
– Soap mold
– Stick blender
– Thermometer
Step 1: Safety First
Before you begin making coconut oil soap, it’s important to prioritize safety. Make sure to wear safety goggles and rubber gloves throughout the entire soap-making process. Working with lye requires caution, so be sure to handle it carefully and in a well-ventilated area.
Step 2: Measure and Prepare
Using a digital kitchen scale, carefully measure out the coconut oil, distilled water, and sodium hydroxide. It’s crucial to be precise with your measurements to ensure the success of your soap. Place the coconut oil in a heat-resistant pitcher and set it aside.
Step 3: Mix the Lye Solution
In a separate heat-resistant pitcher, carefully add the sodium hydroxide to the distilled water. Stir the mixture gently until the lye is completely dissolved. Be cautious as the lye solution will heat up quickly. Allow it to cool to around 100°F (38°C) while you move on to the next step.
Step 4: Melt the Coconut Oil
Place the pitcher containing the measured coconut oil into a water bath or microwave and heat it gently until the oil is completely melted. Once melted, allow the coconut oil to cool to around 100°F (38°C).
Step 5: Combine the Ingredients
Once both the lye solution and coconut oil have cooled to around 100°F (38°C), carefully pour the lye solution into the melted coconut oil. Use a stick blender to mix the two together until they reach trace, which is when the soap batter thickens and leaves a faint trace when drizzled across the surface.
Step 6: Add Essential Oils (Optional)
If you’d like to add fragrance to your coconut oil soap, now is the time to stir in your chosen essential oils. Popular options include lavender, peppermint, or citrus oils, but feel free to get creative and personalize your soap with scents that you love.
Step 7: Pour and Mold
Once your soap batter has reached trace and any essential oils have been added, it’s time to pour it into your soap mold. Smooth out the top of the batter with a spatula and gently tap the mold on the counter to release any air bubbles.
Step 8: Insulate and Cure
Cover the soap mold with a piece of cardboard or a towel to insulate it and keep it warm. Allow the soap to cure in the mold for 24-48 hours. After this initial curing period, carefully remove the soap from the mold and cut it into individual bars. Place the bars on a drying rack in a well-ventilated area and allow them to cure for an additional 4-6 weeks, turning them occasionally to ensure even drying.
Step 9: Enjoy Your Homemade Coconut Oil Soap!
Once your coconut oil soap has fully cured, it’s ready to use! Enjoy the luxurious lather and moisturizing properties of your homemade soap, knowing that it contains only pure, natural ingredients that are gentle on your skin.
Making coconut oil soap at home is a wonderful way to create a natural, nourishing product for yourself and your loved ones. With just a few simple ingredients and some careful preparation, you can enjoy the benefits of homemade coconut oil soap while avoiding the harsh chemicals found in many commercial soaps. So why not give it a try and start crafting your own beautiful bars of coconut oil soap today?


